Do you love fresh flavours in your cooking? An easy and economical way to provide them is by growing your own herbs. Here Jessamy Miller from Grass Roots talks us through everything we need to know to get our parsley, sage, rosemary and thyme (and a few others) growing.
Planting perennial herbs like rosemary, thyme and oregano means you can cut sprigs whenever you feel the urge. This is so much quicker, cheaper and more convenient than buying those plastic packets of herbs from supermarkets, which, let’s face it, seem to wilt just as you need them. It also means you get organic produce for next to nothing. Most herbs are hardy and easy to grow – once you get them established, you’ll reap the benefits in the kitchen.
Where to grow herbs
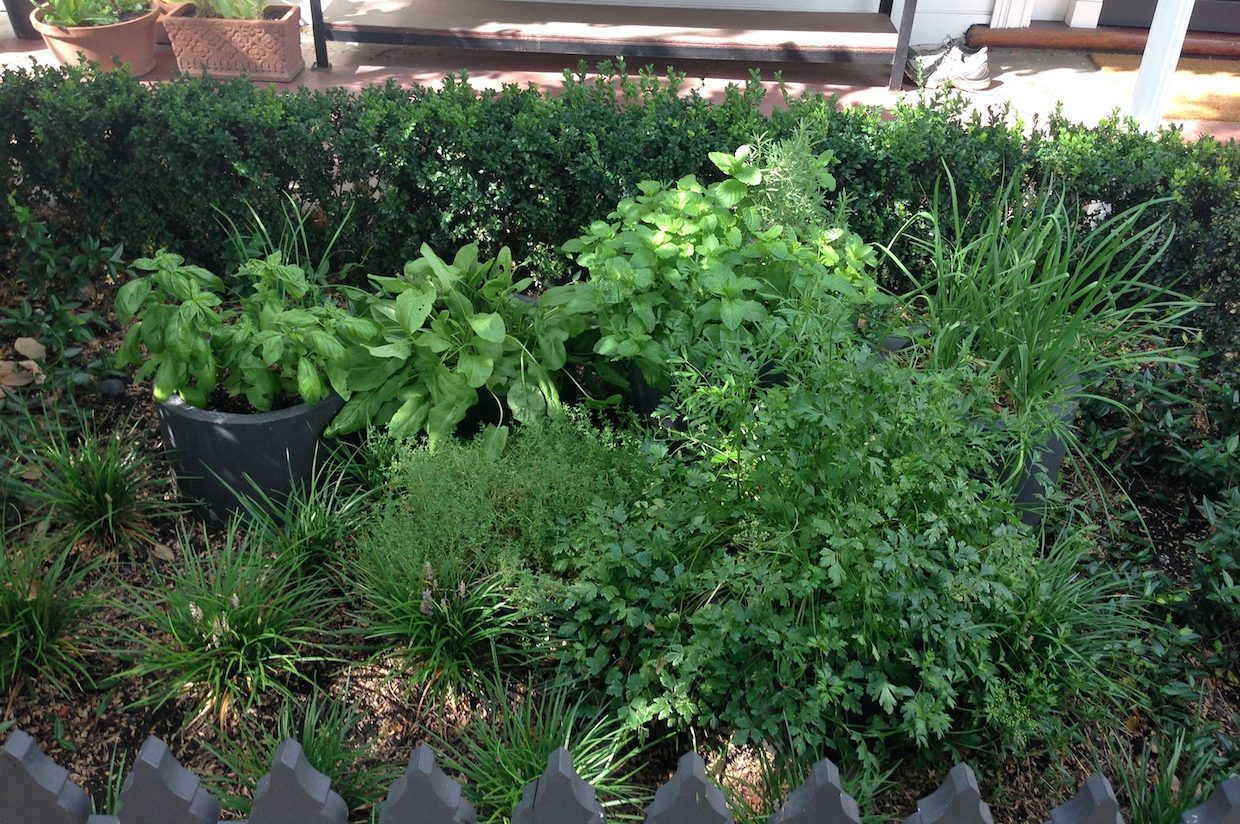
Your herb bed is best situated conveniently close to the kitchen, as it will be used often. It will also need generous sunshine during the day. There are lots of options for setting it up. You could choose to plant out a traditional garden patch, along the fence. However, a raised bed, a herb spiral made with bricks, or some generous pots on the balcony are all ideal for growing herbs in. Herb gardens can be a joy to the eye as well as the tastebuds. Herbs look lovely growing in amongst flowers. In veggie gardens they can be used as borders and will improve pollination by attracting bees.
What you’ll need
To make a herb garden, you’ll need your patch, some good quality soil, a trowel for digging your herbs in, a watering can to keep them watered, and some punnets of herbs. Always select herbs you like and can use in your recipes. When choosing where in the bed to site them, keep in mind that different herbs have different needs.
Mediterranean herbs
The culinary herbs that like a Mediterranean climate include chamomile, tarragon, lavender, marjoram/oregano, sage, rosemary, thyme and savoury. These do best in full sun, at least 6 hours a day. They don’t need highly fertile soil, but they do like the soil to be light, crumbly and free draining. Most of these plants are perennials and will live for many years. They can be planted at any time of the year.
Always plant taller herbs like rosemary and lavender at the back of your bed, so they don’t block sunlight to the smaller ones in front. Creeping herbs like thyme, oregano and marjoram will be pretty spilling over the front, which also makes them easy to access.
Bay trees are very slow growing so can be kept in a large pot for years. They also make great evergreen centrepieces for your herb patch.
Cropping herbs
Annual herbs with a short growing season include basil, chervil, coriander, dill, rocket and parsley. These prefer a highly fertile soil and will need summer watering.
These herbs are best planted in spring, and will reach maturity in summer. Once you have gradually picked the harvest, you can dig them in and turn the area over to a winter crop. This makes them ideal for planting in a vegie garden. If you want these herbs to provide you with a longer picking season, plant them out in a staggered fashion, every two weeks or so. Be sure to nip off any flower heads to keep them producing leaves.
Dill and coriander are particularly picky characters who will do better in the semi-shade; they are likely to bolt to seed in the sun, or in hot weather, which can be very frustrating.
Parsley, rocket and nasturtium are excellent at self-seeding, so give them a dedicated space and they’ll reward you with crops year after year with little effort from you except watering.
Shade herbs
Lemon grass, lemon balm, and members of the mint family like high soil fertility and regular watering; do not let them dry out. They are perennials, though the mints tend to go dormant over winter. Mint varieties are best planted in large pots with saucers, and they prefer dappled shade. If planted in the garden, they’ll quickly take over, send runners everywhere and be a pest to remove.
Seeds or seedlings?
Plant out your herb garden in spring, so the young plants benefit from both rain and sunshine. Many herbs, like rosemary, mint, savoury, marjoram, thyme and lavender, are easier to grow from cuttings, so choose seedlings or small pots from the nursery.
Basil, nasturtium, parsley and rocket can be grown from seed in situ; buying seedlings will cost a little more, but the plants will reach maturity quicker.
Garlic and chives are grown from bulbs, so purchase the bulbs and plant out in spring, or again buy seedings in punnets.
Some herbs prefer to be grown from seed straight into the garden because they don’t like being moved: these include sunflowers, dill, coriander and chervil.
Pests
Slugs and snails adore seedlings so dry out eggshells, crumble them up, and strew them as a barrier around tender plants. If you see holes in herb leaves, check the backs for caterpillars or aphids and crush them between your gloved fingers.
Children
If you have a family, it’s great fun to plant your herbs with your children and explain what they are for. Little ones will enjoy digging the holes for you; make sure they know the area is off limits after planting though! Children can help you pick the different herbs for your cooking and will soak up information about nature, the growing cycle and how we produce food. They will also enjoy watering, but watch out for extra splashing.
If you have chooks, dogs or toddlers, it might be worth setting up a little fence or some other protection for your new herb bed.
Pruning
You will need to prune your perennial herbs in autumn to stop them getting woody and straggly. Of course, any time you trim sprigs off your herbs to use, you are giving them a beneficial haircut. To prune, take a pair of secateurs and cut off any old flower heads or straggly growth. Aim to create a neat and compact shape.
The joys
Go on, give herb gardening a try. Start with a few varieties and experiment with what grows well for you. You’ll be in heaven when you can just pop outside to pick a few bay leaves for the bolognese or a handful of basil for your pesto.
Like Grass Roots on Facebook here.


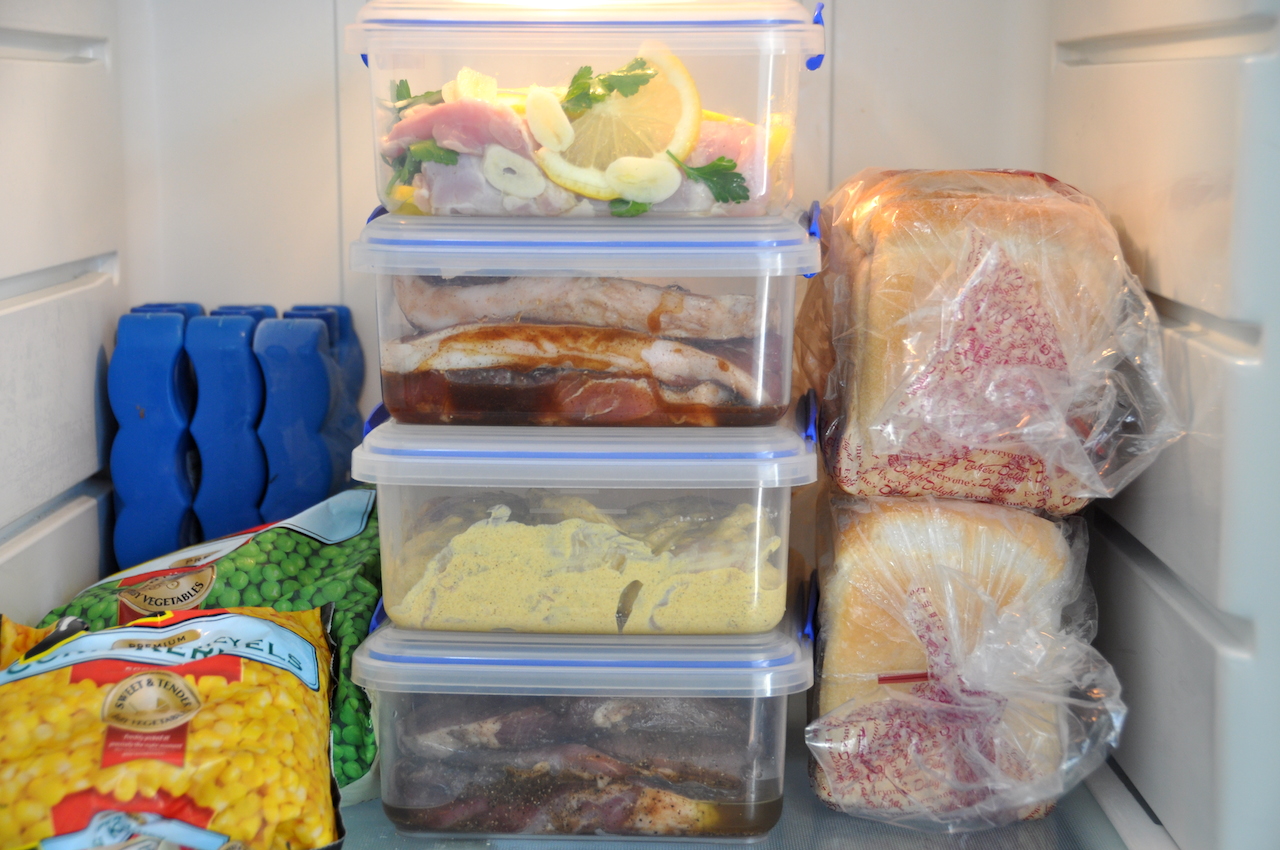 How to make great use of your freezer
Leave a Reply