• Skip to primary navigation
  • Skip to content
  • Skip to primary sidebar
  • Skip to footer

PlanBuyCook

Meal planning made simple

  • PlanBuyCook app
    • iPhone tutorial
    • iPad tutorial
    • FAQs
    • App troubleshooting
  • Meal planning 101
    • MEAL PLANS
      • Spring
      • Summer
      • Autumn / Fall
      • Winter
    • Planning know-how
    • How-to
    • Buy
  • Recipes
    • Breakfast
    • Snacks & lunchbox
    • Meals & dinners
    • Sides & salads
    • Desserts & special occasion
  • About us
You are here: Home / App troubleshooting

App troubleshooting

App troubleshooting

Having issues with the PlanBuyCook app? Try one of these quick fixes. And please email us immediately at info@planbuycook.com.au for us to help you, and let us know which device you are operating on, which version of iOS you have running on your device, and when the problem happens.

Firstly, try updating your app with the latest version from the App Store and the latest iOS. We regularly fix little bugs, so we may have already found your issue and fixed it. Update the app at www.appstore.com/PlanBuyCook and update your iOS under your device’s SETTINGS app in software update.

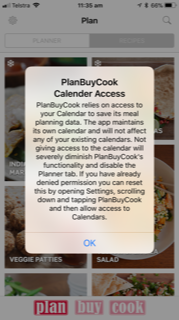
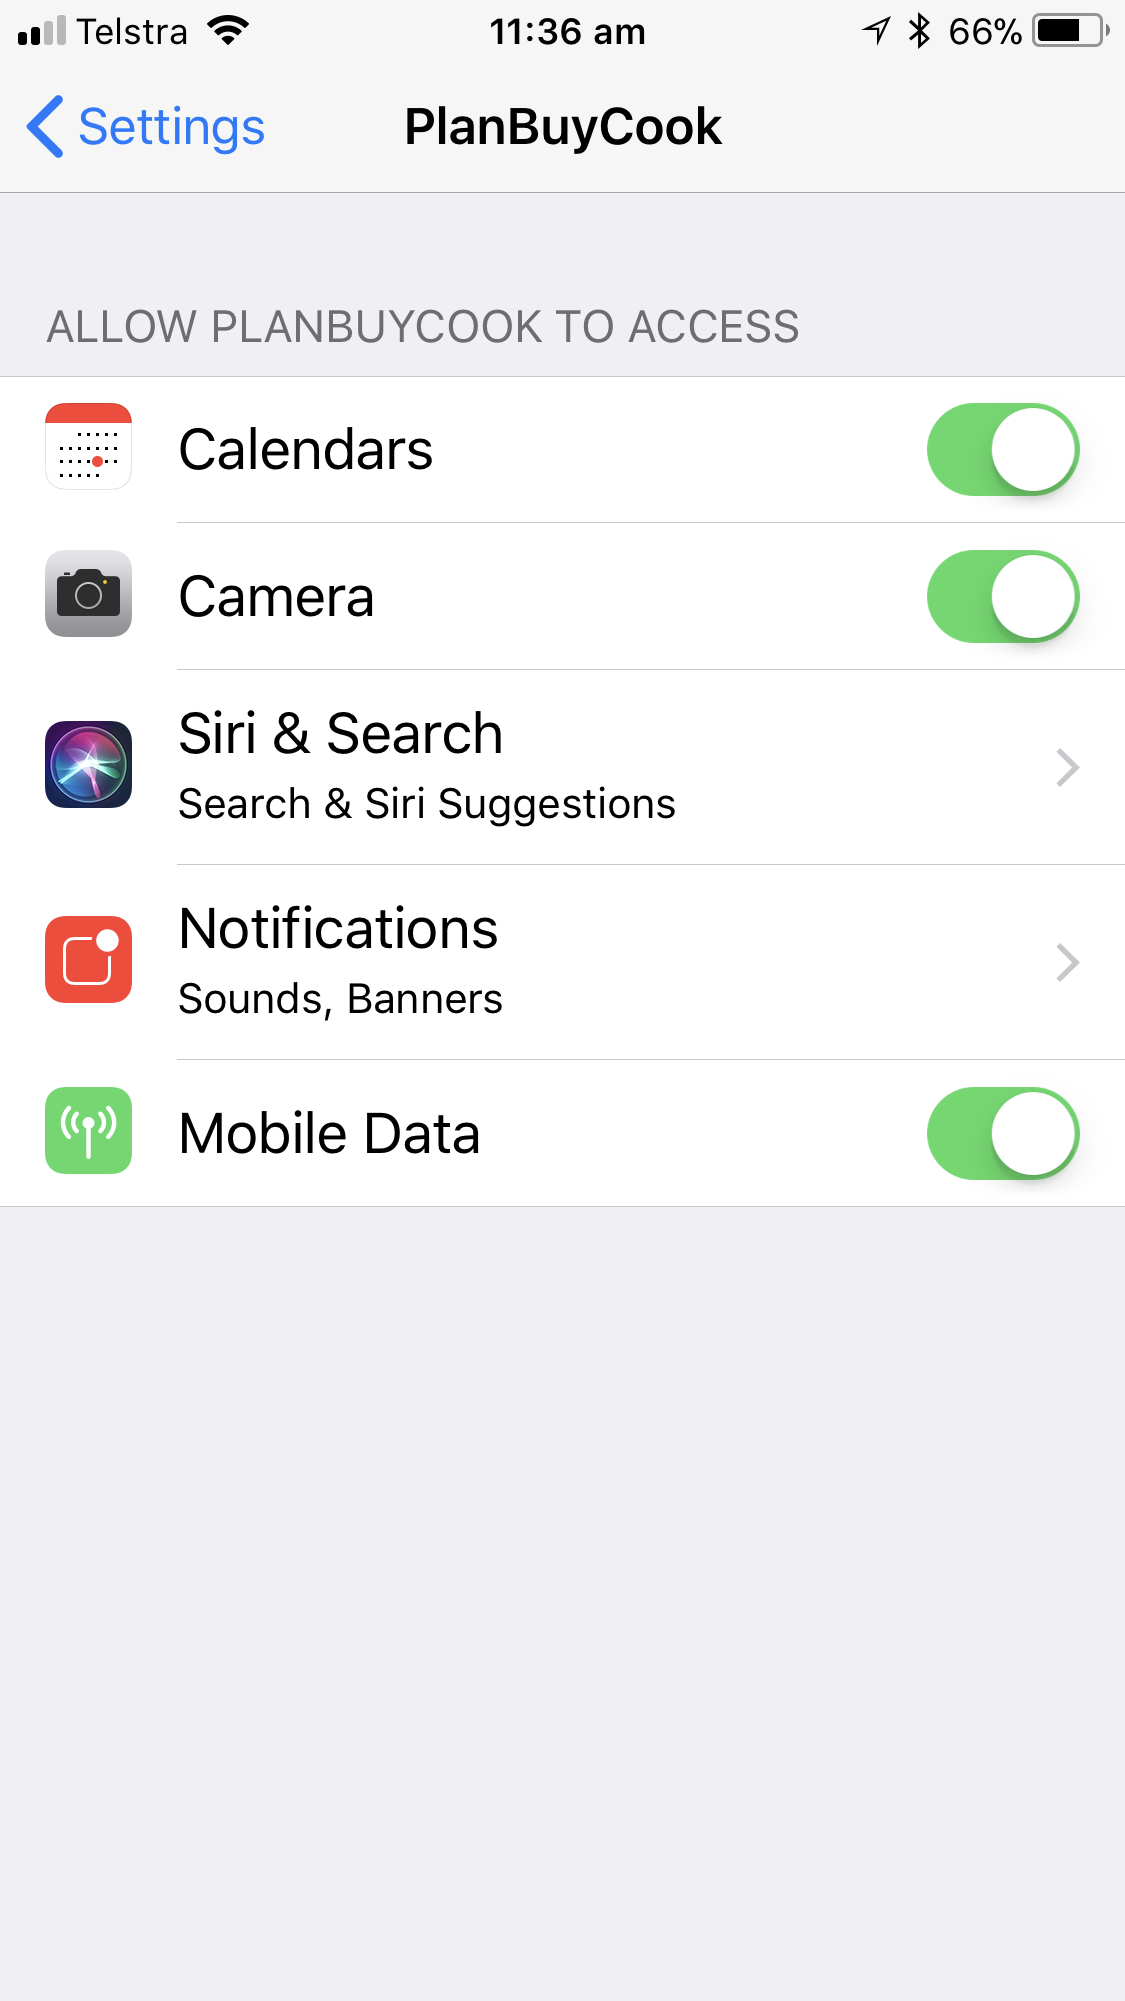
It’s all about the Calendar
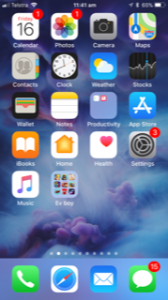
PlanBuyCook meal planning app requires the use of your iPhone/iPad Calendar app to save the meals. If you have not enabled PlanBuyCook Calendar access, the app will work to browse the recipes but will not allow you to save your meal plan. Go to the Settings app on your iPhone or iPad (generally on the first screen), scroll all the way down to the end where your individual app settings are displayed. Tap on the PlanBuyCook app, allow the app to access Calendars, and then your planner will display properly the next time you open the app and allow you to use the planning functions.

Selected meals not saving 
If your PlanBuyCook meal plan is not saving, it could be that you have not enabled the app to access your Calendar. When you first download the PlanBuyCook app it will ask for permission to access your Calendar. You need to allow this in order for it to save your meal plan.

If you said no to this upon start up, you can go into your SETTINGS on your iPad, scroll down the bottom where individual app settings are displayed, tap on PlanBuyCook icon and move the Calendars button to YES.

Issue with plus sized iPhones 

We had some reports of problems with displaying the recipes on 6+ and 7+ iPhone models. We have updated the app to fix this in version 2.3.2 and beyond.  Please email us if you are having a problem.

Storage space
You will need 200MB in storage to run the PlanBuyCook app. If you don’t have enough, you may need to delete any unused apps from your iPhone or iPad in order to run the app.

iCloud not enabled
If you are still having issues with your meal plan saving, it may be that you have not enabled iCloud for your Calendar. To fix, go into SETTINGS >iCloud and shift the Calendar button to ON.

I need to reinstall the app
If you need to reinstall the app for any reason, simply go to the App Store and upload the latest version. Don’t delete the app before you update. This will ensure that you keep any custom recipes you have added into the app. If you need to delete it for some reason, try and share any custom recipes to another device running the PlanBuyCook app so you can retrieve them at a later date.

The PlanBuyCook app is not displaying correctly
In a few countries, we had an issue with the meal PLANNER not displaying the photographs of the meals. We rectified this issue with release 2.1 and above, available now on the App Store. If you have downloaded the latest versus and still have an issue with the app displaying correctly, contact us at info@planbuycook.com.au.

App crashing when using a Bluetooth keyboard
There was a bug when adding your own recipes using a Bluetooth keyboard on the iPad version. We have rectified it in versions 1.2.4 on, but if you haven’t updated, the easiest short term fix is to put away the keyboard and use the onscreen iPad keyboard. Download the latest version here: www.appstore.com/planbuycook

My app is crashing on iPad2
You need to be running iOS 8.0 as a minimum for the PlanBuyCook app to run. Many iPad2s are now struggling to run apps. If you are having an issue with your iPad2 crashing, it could be a memory issue. Contact us at info@planbuycook.com.au if you are unable to run your PlanBuyCook app on your iPad2.

Any other issue
Please contact us at info@planbuycook.com.au immediately to help rectify any issues you have with your PlanBuyCook app. We will endeavour to fix the issue as soon as possible.


Primary Sidebar

Search

Get social

  • Facebook
  • Instagram
  • Pinterest
  • Twitter
  • YouTube

PlanBuyCook APP

Plan Buy Cook App

As featured in:

About us

PlanBuyCook is meal planning made simple using our no-fuss iPhone and iPad app and the Dinner Done Challenge. It makes planning, shopping for and cooking your meals easy. Read More…

iPhone app tutorial

https://youtu.be/TGO57pkISK8

iPad app tutorial

https://youtu.be/sxoPxpOT5zA

Tip of the week

Double all freezable meals and freeze half for a fast meal a few weeks down the track.

Recent posts

Tuna and corn patties

[Read More...]

Roast carrot, feta and walnut salad

[Read More...]

Mexican corn salad

[Read More...]

Before Footer

Instagram

  • This is an old school classic eastern European salad that tastes sensational. Not much to look at, you’ll be surprised by the fabulous reaction you’ll get to this Russian salad. Go on – try it! It won’t disappoint. Recipe below. .
.
.
.
.
.
RUSSIAN SALAD
Prep: 15 mins
Cook: 30 mins
Serves: 4

Ingredients:
400g / 2 large potatoes, peeled and cut into 3cm/1″ dice
4 carrots, peeled and cut into 3cm/1″ dice
4 eggs
1 cup of frozen peas, defrosted
100g of gherkins, sliced or diced
2 tbsp of natural/plain yoghurt
2 tbsp of mayonnaise
4 sprigs of flat leaf parsley, washed and picked
½ cup of frozen edamame beans (soybeans), peeled and defrosted
salt
white pepper

Method:
Place the potatoes and carrots in saucepans, bring to the boil and cook until tender. Drain and set aside to cool.
Bring another saucepan to the boil, and place the eggs gently in and cook for 8 minutes. Drain and refresh under old water and peel while still warm. Chop or slice the eggs.
Combine the yoghurt and mayonnaise and set aside.
Once the potatoes and carrots have cooled completely, combine them in a bowl with the eggs, peas, gherkins, parsley and edamame. Stir through the mayonnaise mixture, adjust seasoning and serve.

TIP:
This salad is a meal in itself. Just add some leafy greens to go with it.
  • Not all muffins need to be sweet. If you are looking for a great lunchbox filler that also ticks the vegetable box, how about trying these out? A perfect alternative to always offering sweet treats for after school snacks. Another great savoury muffin combination is potato, rosemary, caramelised onions and feta. Recipe below.
.
.
.
.
.
SAVOURY MUFFINS
Prep: 10 mins
Cook: 1 hour
Makes: 18 muffins
Ingredients
1 sweet potato, diced (or any leftover roast vegetables:, including zucchini, pumpkin, carrots etc.)
½ onion or 1 eschalot, finely diced
olive oil spray
2 cups of self-raising flour
2 pinches of salt (iodised)
2 eggs
1 cup of milk
30ml of olive oil
100g feta, crumbled
½ cup of baby spinach
Method
Preheat the oven to 180˚C fan forced.
Line an oven tray with baking paper. Mix together the vegetables and the onion or eschalot and pile on the baking tray. Spray vegetables with olive oil.
Bake vegetables for 35–40 minutes.
Line muffin trays with paper cases (patty pans).
In the meantime, place the flour and salt in a large bowl. Make a well in the centre and then add the eggs, milk and oil and fold through lightly.
Add the roasted vegetables, feta and baby spinach to the flour mix and combine gently.
Spoon mixture into the paper cases.
Cook for 15–20 minutes until springy to touch.
Leave to cool before serving or freezing.
  • This week, since it's back to school for most of us, we'll focus on lunchbox snacks - starting with apple slice. It freezes well if the family doesn’t polish it off on the same day. You can use any apples you happen to have. Recipe below.
.
.
.
.
APPLE SLICE
Prep: 10 mins
Cook: 45 mins
Makes: about 25–30 squares

Ingredients:
3 eggs
1 cup of caster sugar
90g of unsalted butter, melted
4 apples (use whichever variety you have in the fruit bowl)
1 tsp of vanilla essence
1 tbsp of caster sugar (additional)
1½ cups of self raising flour
icing sugar mixture for dusting

Method:
Preheat the oven to 180ºC (160ºC fan forced).
Grease or line an 18 x 28 cm baking tin or equivalent.
Mix the eggs, sugar and melted butter together in a bowl.
Grate the apples (leaving the skin on) and add vanilla and extra caster sugar to the apples and set aside.
Add the flour into the egg mix and stir with a fork to make a runny batter.
Pour two thirds of the batter into the baking tin to cover the base.
Spread apple mix evenly over the batter in the baking tin, then top with remaining batter. Don’t worry if it doesn’t entirely cover the apple mixture, it spreads when cooking.
Place tray in the oven and bake for 35–40 minutes.
Remove from the oven, allow to cool then sprinkle with icing sugar mixture.
Cut into smaller squares and freeze any leftovers for lunchboxes.

TIP:
If using Granny Smith apples or particularly juicy apples, you may want to squeeze the grated apple mix before spreading over the batter. There will appear to be too much grated apple, but use it all as it cooks down. Remember you don’t need much batter of the top as it does spread.
  • The perfect treat for a scorching summer's day. Recipe and 📸 courtesy of Good Food.  #icypoles #passionfuit #coconut #goodfoodau #summer.
.
.
.
2 x 170g cans passionfruit pulp in syrup
350ml coconut water
.
.
1. Combine the entire contents of the cans of passionfruit pulp with the coconut water and mix well. Strain through a sieve to remove the seeds (but push through any pulp).
2. Divide the mixture between the compartments of icy pole moulds, but do not fill completely to the top. Add a few passionfruit seeds to each compartment, then add wooden sticks and freeze for at least 6 hours.
  • Tuna and corn patties are a perfect lunch alternative to sandwiches and also great for an afternoon snack. For younger kids they are a meal in themselves. Recipe below. .
.
.
.
.
.
TUNA & CORN PATTIES
Prep: 10 mins
Cook: 25 mins
Serves: 4

Ingredients:
200g /½ lb of sweet potato/yams, grated
½ cup of plain flour
½ cup of corn (tinned or frozen)
185g /6 oz of tinned tuna in oil
1 egg
olive oil for frying

Method:
Mix the sweet potato/yam, flour, corn, tuna and egg in a bowl. Leave for 10 minutes.
Heat a non-stick frypan and enough olive oil for frying. Form into patties and place straight into the pan. Cook over a low to medium heat until golden on both sides.
Add extra olive oil with each new batch to stop patties from sticking.
Serve either hot or cold as a snack or in lunchboxes.

TIP:
Keep the cooked patties warm in the oven while cooking the extra batches.

Footer

  • Facebook
  • Instagram
  • Pinterest
  • Twitter
  • YouTube
  • General terms and conditions
  • Privacy policy
  • Advertise with us
  • Contact us
  • Media enquiries

Copyright © 2019 · Appetising Ideas