• Skip to primary navigation
  • Skip to content
  • Skip to primary sidebar
  • Skip to footer

PlanBuyCook

Meal planning made simple

  • PlanBuyCook app
    • iPhone tutorial
    • iPad tutorial
    • FAQs
    • App troubleshooting
  • Meal planning 101
    • MEAL PLANS
      • Spring
      • Summer
      • Autumn / Fall
      • Winter
    • Planning know-how
    • How-to
    • Buy
  • Recipes
    • Breakfast
    • Snacks & lunchbox
    • Meals & dinners
    • Sides & salads
    • Desserts & special occasion
  • About us
You are here: Home / COOK / Coconut ice

Coconut ice

12/11/2018 By Jen

Coconut ice

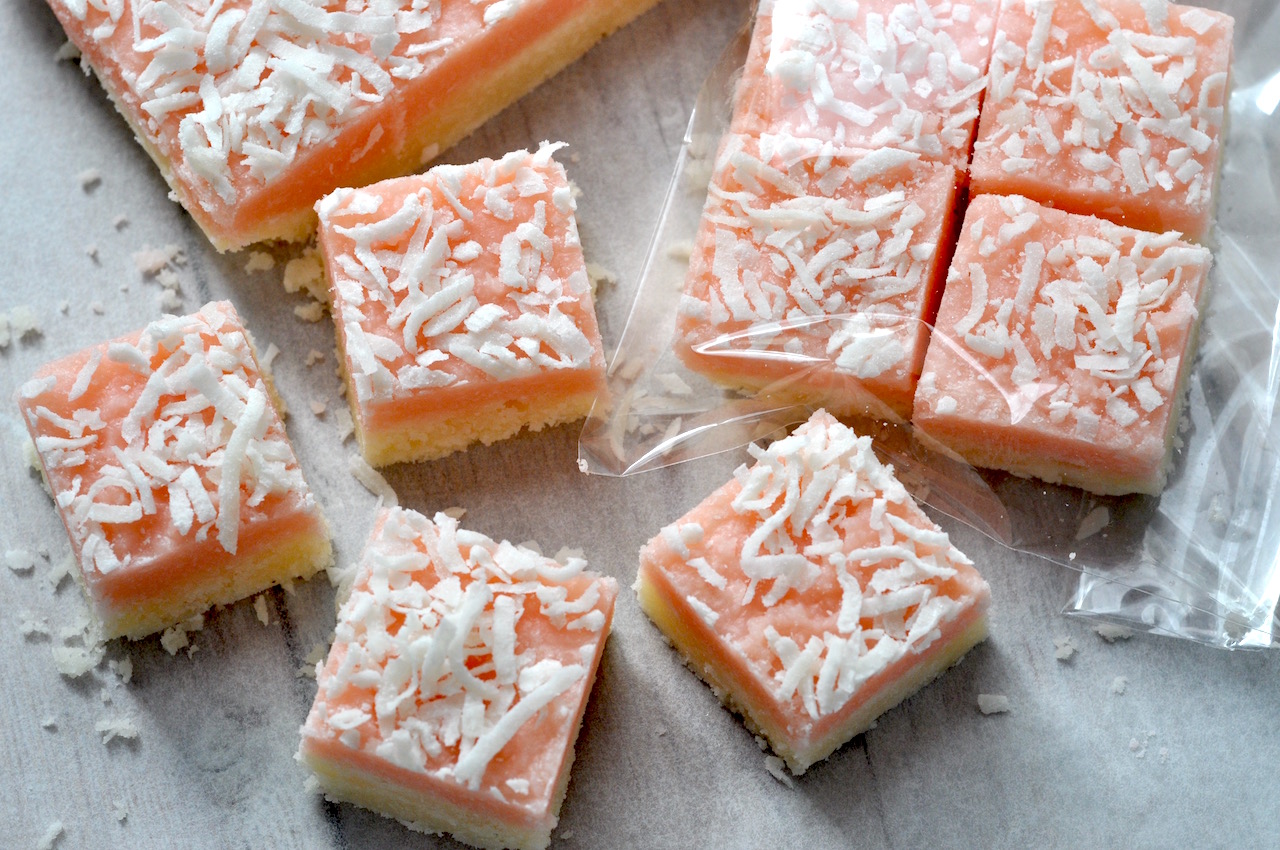
It is fete season and coconut ice is a great recipe for the cake stall that sells out quickly. Easy to make and great to look at – you can’t go past this as a fete favourite. Useful items include a digital thermometer and cellophane self-sealing bags from $2 shops, and you can make your own trays – see tip below.

COCONUT ICE

Prep: 5 mins
Cook: 40 mins + setting time (4 hours min)
Makes: 20–25 squares

Ingredients

  • 6 cups of pure icing sugar, sifted
  • 1 cup / 250ml of full cream milk
  • 50g / 2oz of unsalted butter
  • ¼ tsp of salt
  • 1½ cups of desiccated coconut
  • 1–2 drops of pink food colouring
  • 50g / 2oz of moist shredded coconut

Method

  1. Line a 20cm x 20cm (7″ x 7″) tray with baking/parchment paper.
  2. Place the sifted icing sugar, milk, butter and salt in a heavy-based saucepan. Heat gently and stir constantly until sugar dissolves.
  3. Turn up the heat and bring to the boil. At this point, cease stirring the mixture.
  4. Using a digital thermometer, cook until it reaches soft boil stage (112ºC–118ºC / 235ºF–245ºF).
  5. Remove from the heat and add the desiccated coconut and stir through.
  6. Allow to cool for 10 minutes.
  7. Pour half the mixture into the tray.
  8. With remaining mix, add a drop or two of pink food colouring, and stir through until the colour in even.
  9. Spread the pink mixture on top of the white, and then sprinkle with the moist shredded coconut, pressing down gently.
  10. Refrigerate for a minimum of 4 hours, or best overnight.
  11. Cut into squares and place in bags. Label with ingredients if taking to a cake stall/fete.

TIP
Make little silver trays to place the coconut ice onto in the bag by using an old cardboard box cut to size, then cover with aluminium foil for a nice presentation.
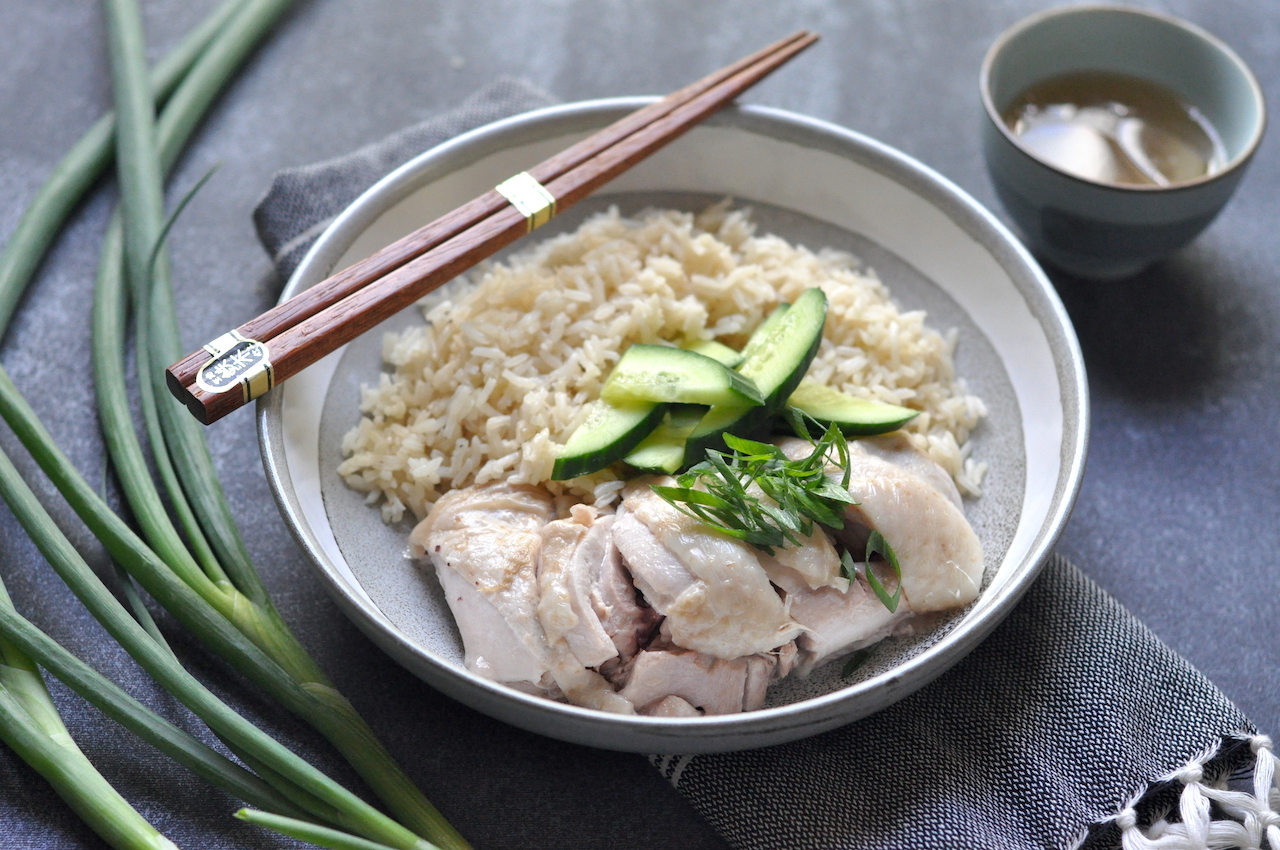
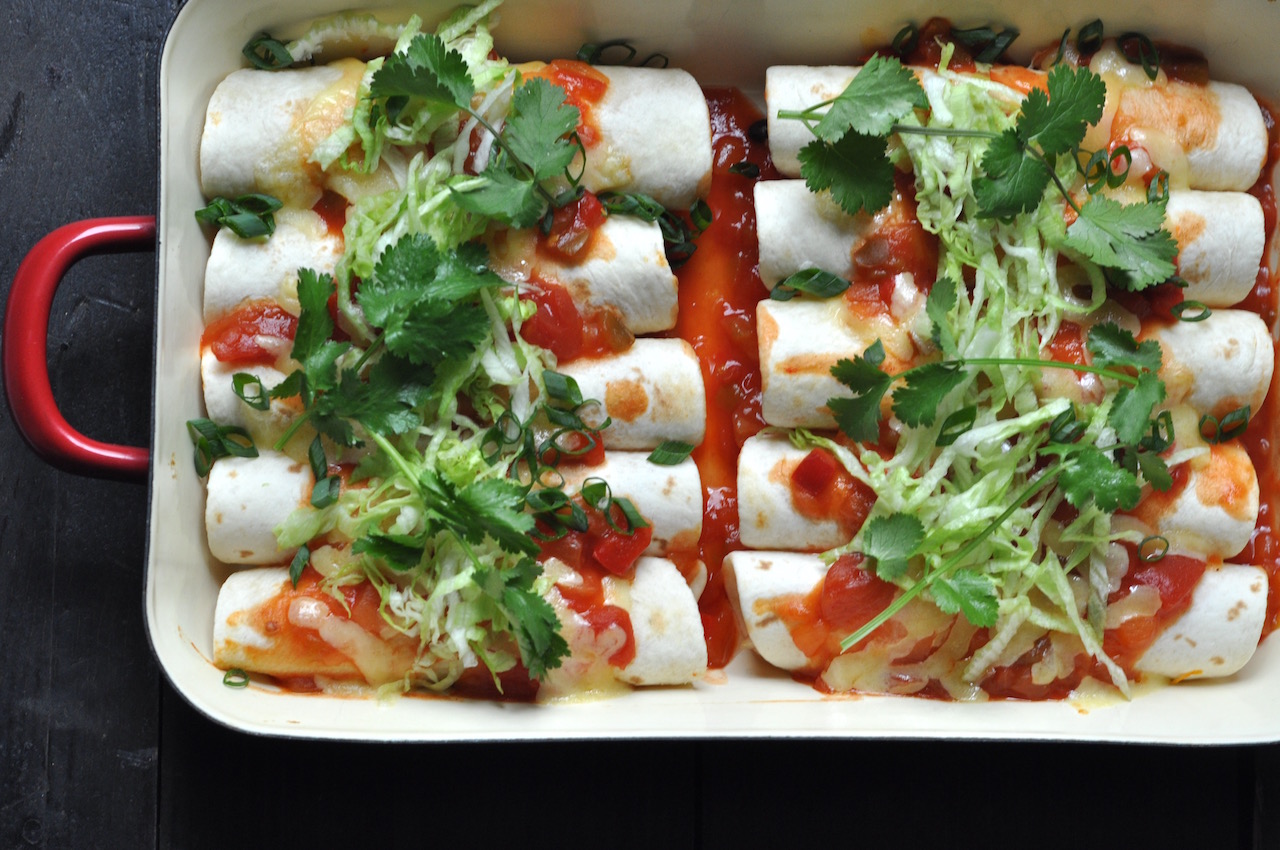
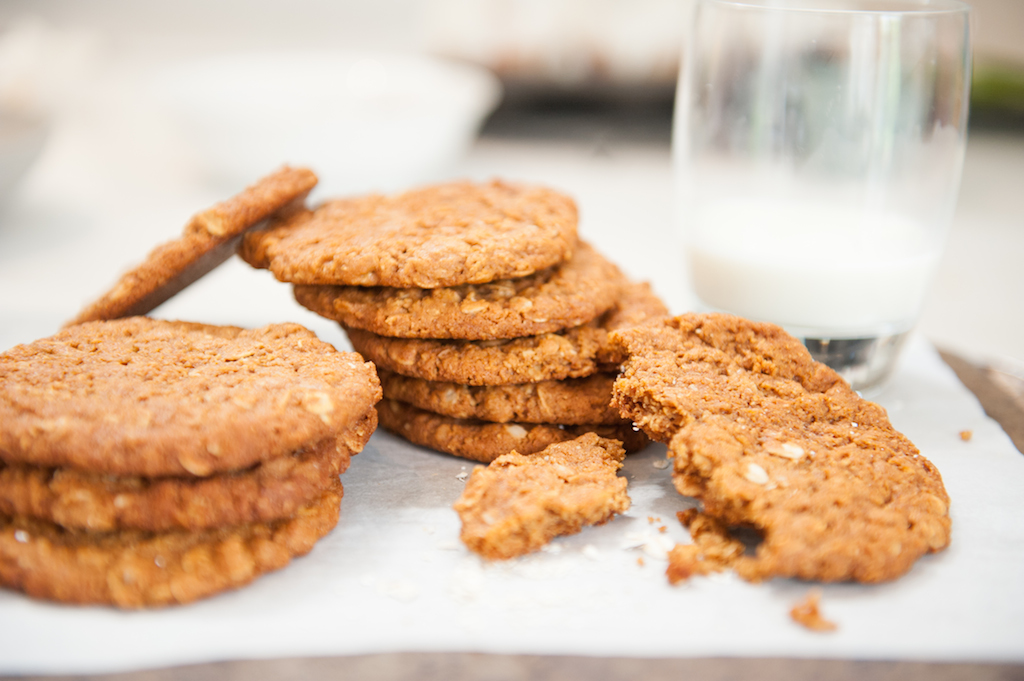
Save time in the kitchen with the PlanBuyCook meal planning app, available or iPhone and iPad at the App Store.


Filed Under: COOK, Snacks & lunchbox

Primary Sidebar

Search

Get social

  • Facebook
  • Instagram
  • Pinterest
  • Twitter
  • YouTube

PlanBuyCook APP

Plan Buy Cook App

As featured in:

About us

PlanBuyCook is meal planning made simple using our no-fuss iPhone and iPad app and the Dinner Done Challenge. It makes planning, shopping for and cooking your meals easy. Read More…

iPhone app tutorial

https://youtu.be/TGO57pkISK8

iPad app tutorial

https://youtu.be/sxoPxpOT5zA

Tip of the week

Double all freezable meals and freeze half for a fast meal a few weeks down the track.

Recent posts

Tuna and corn patties

[Read More...]

Roast carrot, feta and walnut salad

[Read More...]

Mexican corn salad

[Read More...]

Before Footer

Instagram

  • You could easily whip up these little chocolate hearts for the special person / people in your life. So yummy that you may have difficulty parting with them. Gluten free too. Recipe below.
.
.
.
.
Chocolate Fudge

Prep: 5 mins
Cook: 60 mins
Makes: 16 small hearts
Ingredients:
125ml of sour cream
30ml of frangelico or brandy
300g of dark chocolate
4 eggs
50g of caster sugar
cocoa for dusting

Method:
Preheat the oven to 120ºC.
Whisk the eggs and sugar together in a heat-prof bowl over a saucepan of simmering water until the sugar dissolves.
Add the chopped chocolate, sour cream and frangelico or brandy, and mix until chocolate has melted.
Pour mixture into a 20cm x 20cm square cake tin lined with baking paper.
Place in oven and cook for 45 minutes. It should be a little wobbly in the centre when ready as it will continue to cook in its own heat.
Remove from oven and leave to cool completely.
Once cooled to room temperature, place in the freezer to make it easier to cut.
Using a cookie cutter (heart shaped if it is your heart’s desire) cut out the fudge.
Dust with cocoa and place on a serving plate or in a gift box.
Serve to all loved ones on Valentine’s Day or any day.
  • This is an old school classic eastern European salad that tastes sensational. Not much to look at, you’ll be surprised by the fabulous reaction you’ll get to this Russian salad. Go on – try it! It won’t disappoint. Recipe below. .
.
.
.
.
.
RUSSIAN SALAD
Prep: 15 mins
Cook: 30 mins
Serves: 4

Ingredients:
400g / 2 large potatoes, peeled and cut into 3cm/1″ dice
4 carrots, peeled and cut into 3cm/1″ dice
4 eggs
1 cup of frozen peas, defrosted
100g of gherkins, sliced or diced
2 tbsp of natural/plain yoghurt
2 tbsp of mayonnaise
4 sprigs of flat leaf parsley, washed and picked
½ cup of frozen edamame beans (soybeans), peeled and defrosted
salt
white pepper

Method:
Place the potatoes and carrots in saucepans, bring to the boil and cook until tender. Drain and set aside to cool.
Bring another saucepan to the boil, and place the eggs gently in and cook for 8 minutes. Drain and refresh under old water and peel while still warm. Chop or slice the eggs.
Combine the yoghurt and mayonnaise and set aside.
Once the potatoes and carrots have cooled completely, combine them in a bowl with the eggs, peas, gherkins, parsley and edamame. Stir through the mayonnaise mixture, adjust seasoning and serve.

TIP:
This salad is a meal in itself. Just add some leafy greens to go with it.
  • Not all muffins need to be sweet. If you are looking for a great lunchbox filler that also ticks the vegetable box, how about trying these out? A perfect alternative to always offering sweet treats for after school snacks. Another great savoury muffin combination is potato, rosemary, caramelised onions and feta. Recipe below.
.
.
.
.
.
SAVOURY MUFFINS
Prep: 10 mins
Cook: 1 hour
Makes: 18 muffins
Ingredients
1 sweet potato, diced (or any leftover roast vegetables:, including zucchini, pumpkin, carrots etc.)
½ onion or 1 eschalot, finely diced
olive oil spray
2 cups of self-raising flour
2 pinches of salt (iodised)
2 eggs
1 cup of milk
30ml of olive oil
100g feta, crumbled
½ cup of baby spinach
Method
Preheat the oven to 180˚C fan forced.
Line an oven tray with baking paper. Mix together the vegetables and the onion or eschalot and pile on the baking tray. Spray vegetables with olive oil.
Bake vegetables for 35–40 minutes.
Line muffin trays with paper cases (patty pans).
In the meantime, place the flour and salt in a large bowl. Make a well in the centre and then add the eggs, milk and oil and fold through lightly.
Add the roasted vegetables, feta and baby spinach to the flour mix and combine gently.
Spoon mixture into the paper cases.
Cook for 15–20 minutes until springy to touch.
Leave to cool before serving or freezing.
  • This week, since it's back to school for most of us, we'll focus on lunchbox snacks - starting with apple slice. It freezes well if the family doesn’t polish it off on the same day. You can use any apples you happen to have. Recipe below.
.
.
.
.
APPLE SLICE
Prep: 10 mins
Cook: 45 mins
Makes: about 25–30 squares

Ingredients:
3 eggs
1 cup of caster sugar
90g of unsalted butter, melted
4 apples (use whichever variety you have in the fruit bowl)
1 tsp of vanilla essence
1 tbsp of caster sugar (additional)
1½ cups of self raising flour
icing sugar mixture for dusting

Method:
Preheat the oven to 180ºC (160ºC fan forced).
Grease or line an 18 x 28 cm baking tin or equivalent.
Mix the eggs, sugar and melted butter together in a bowl.
Grate the apples (leaving the skin on) and add vanilla and extra caster sugar to the apples and set aside.
Add the flour into the egg mix and stir with a fork to make a runny batter.
Pour two thirds of the batter into the baking tin to cover the base.
Spread apple mix evenly over the batter in the baking tin, then top with remaining batter. Don’t worry if it doesn’t entirely cover the apple mixture, it spreads when cooking.
Place tray in the oven and bake for 35–40 minutes.
Remove from the oven, allow to cool then sprinkle with icing sugar mixture.
Cut into smaller squares and freeze any leftovers for lunchboxes.

TIP:
If using Granny Smith apples or particularly juicy apples, you may want to squeeze the grated apple mix before spreading over the batter. There will appear to be too much grated apple, but use it all as it cooks down. Remember you don’t need much batter of the top as it does spread.
  • The perfect treat for a scorching summer's day. Recipe and 📸 courtesy of Good Food.  #icypoles #passionfuit #coconut #goodfoodau #summer.
.
.
.
2 x 170g cans passionfruit pulp in syrup
350ml coconut water
.
.
1. Combine the entire contents of the cans of passionfruit pulp with the coconut water and mix well. Strain through a sieve to remove the seeds (but push through any pulp).
2. Divide the mixture between the compartments of icy pole moulds, but do not fill completely to the top. Add a few passionfruit seeds to each compartment, then add wooden sticks and freeze for at least 6 hours.

Footer

  • Facebook
  • Instagram
  • Pinterest
  • Twitter
  • YouTube
  • General terms and conditions
  • Privacy policy
  • Advertise with us
  • Contact us
  • Media enquiries

Copyright © 2019 · Appetising Ideas