• BOOK
  • APP
    • About the App
    • iPhone tutorial
    • iPad tutorial
    • FAQs
    • App troubleshooting
  • ABOUT

Mobile Menu

  • PLAN
    • Planner templates
    • Meal plans
      • Summer
      • Autumn / Fall
      • Winter
      • Spring
    • How-to
  • BUY
  • COOK
    • Breakfast
    • Snacks & lunchbox
    • Meals & dinners
    • Sides & salads
    • Desserts & special occasion
  • Search
  • Email
  • Facebook
  • Instagram
  • Pinterest
  • Twitter
  • YouTube
  • Menu
  • Skip to left header navigation
  • Skip to right header navigation
  • Skip to main content
  • Skip to secondary navigation
  • Skip to primary sidebar
  • Skip to footer

Before Header

  • Email
  • Facebook
  • Instagram
  • Pinterest
  • Twitter
  • YouTube

PlanBuyCook

Meal planning made simple

  • BOOK
  • APP
    • About the App
    • iPhone tutorial
    • iPad tutorial
    • FAQs
    • App troubleshooting
  • ABOUT
  • PLAN
    • Planner templates
    • Meal plans
      • Summer
      • Autumn / Fall
      • Winter
      • Spring
    • How-to
  • BUY
  • COOK
    • Breakfast
    • Snacks & lunchbox
    • Meals & dinners
    • Sides & salads
    • Desserts & special occasion
  • Search

Ham and cannellini bean fritters

You are here: Home / COOK / Ham and cannellini bean fritters

14/09/2016 By //  by Gaby Leave a Comment

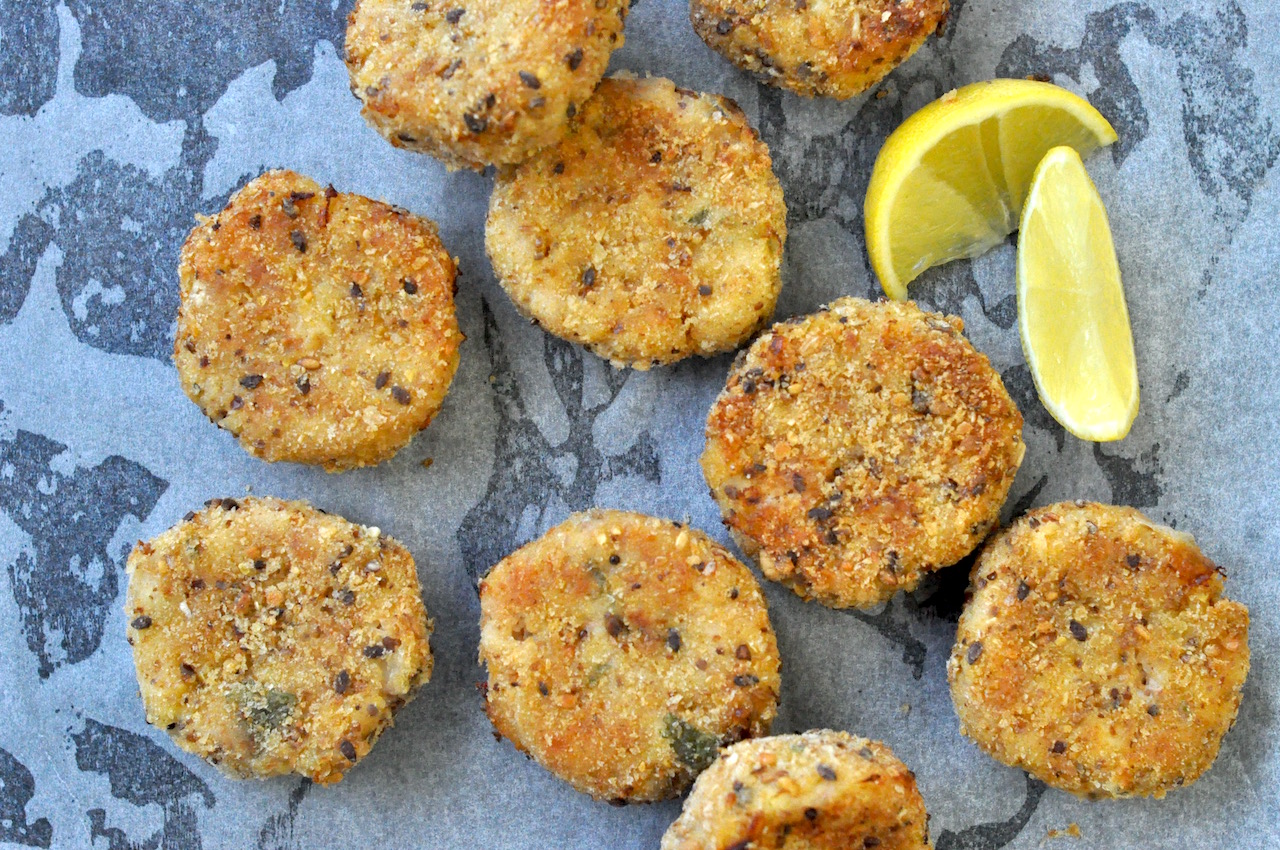
These simple ham and cannellini bean fritters are a simple, kid-friendly meal, that are also great in the lunchbox. 

HAM & CANNELLINI BEAN FRITTERS

Prep: 10 mins
Cook: 50 mins

Ingredients

  • 20ml / 1 tbsp of olive oil
  • 1 brown onion, finely diced
  • 1 clove of garlic, crushed or grated
  • 800g / 28 oz of tinned cannellini beans, drained & rinsed
  • 200g / 6 oz of ham, roughly chopped
  • 2 sprigs of flat leaf parsley, finely chopped
  • 1 tsp of dijon mustard
  • 1 cup of plain flour
  • 2 eggs, lightly beaten
  • 2 cups of wholemeal breadcrumbs
  • extra olive oil to coat fritters

Method

  1. Preheat the oven to 160ºC / 325ºF / Gas mark 4 fan forced.
  2. Heat the olive oil in a small frypan or saucepan, and cook the onion and garlic until translucent. Add a little water if they stick to the pan. Set aside to cool.
  3. Roughly chop the ham in a food processor, then transfer to a mixing bowl.
  4. Roughly chop the cannellini beans in the food processor, then place in the bowl with the ham.
  5. Add the parsley, mustard and cooled onion and garlic mix to the bowl, and stir to combine.
  6. Form into small patties and refrigerate while you organise the coating.
  7. Place the flour, eggs and breadcrumbs in separate bowls/plates.
  8. Pass the patties through flour, eggs and breadcrumbs, then place on a flat baking tray lined with baking/parchment paper.
  9. Dip each patty onto a saucer with some oil to coat each side, then place back on the tray.
  10. Cook in the oven for 40 minutes.
  11. Serve with salad or as a snack.

TIP
Wet your hands before coating the patties in flour – it helps stop the flour sticking to your fingers.

Filed Under: COOK, Meals & dinners, Snacks & lunchbox

Get the Plan Buy Cook meal planning app, available for iPhone and iPad to get dinner done. The Plan Buy Cook Book is available worldwide via Amazon or at all good Australian bookstores and online through Booktopia.

Related Posts

You may be interested in these posts from the same category.

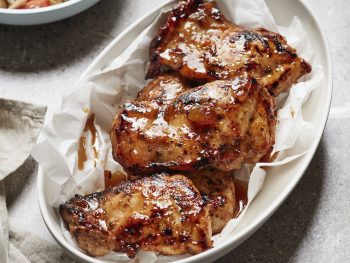
Mango chicken

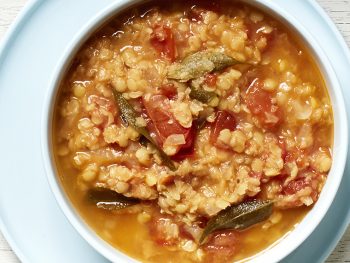
Arun’s lentil soup

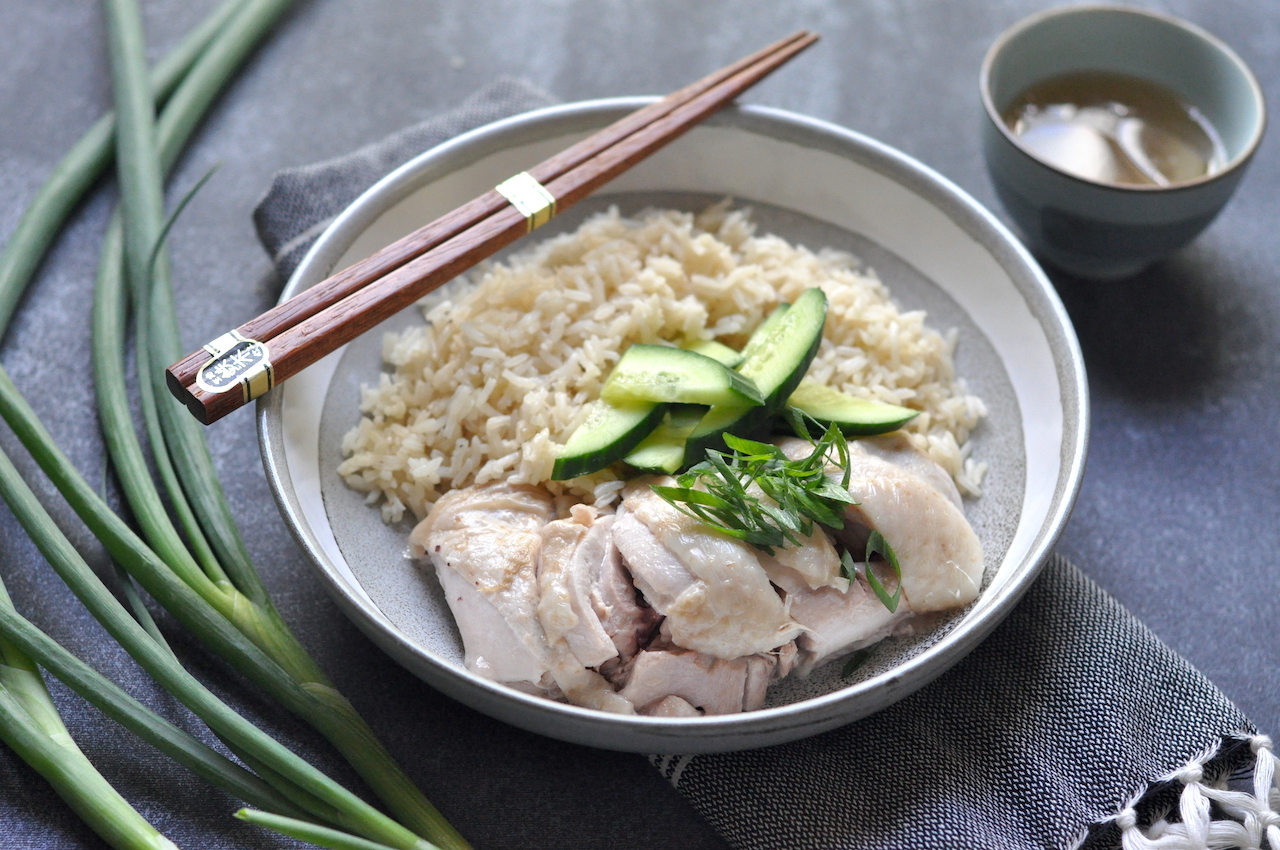
Poached ginger chicken

Chicken and corn soup

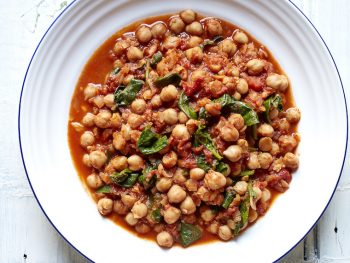
Chick pea curry

Beef stroganoff

Chicken enchiladas with red rice

Stir fry mince with XO sauce

Minestrone

Anzac biscuits

Pastitsio: Greek pasta bake

How-to cook perfect steamed rice

Previous Post: « Beef with thai basil
Next Post: DIY high tea: 5-star event on a 1-star budget »

Reader Interactions

Leave a Reply Cancel reply

Your email address will not be published. Required fields are marked *

Primary Sidebar

Plan Buy Cook Book

Plan Buy Cook App

Handy planners

Recent Posts

How to BBQ: barbecue tips

08/09/2021

Mango chicken

07/09/2021

Arun’s lentil soup

25/07/2021

Poached ginger chicken

17/06/2021

Footer

Tip of the week

Salads are best served at room temperature. If making them in advance, take them out of the refrigerator in time to get to room temp.

  • Email
  • Facebook
  • Instagram
  • Pinterest
  • Twitter
  • YouTube
  • Contact Us
  • Sitemap

Site Footer

  • Contact Us
  • Sitemap

Copyright © 2025 · Appetising Ideas