• Skip to primary navigation
  • Skip to content
  • Skip to primary sidebar
  • Skip to footer

PlanBuyCook

Meal planning made simple

  • PlanBuyCook app
    • iPhone tutorial
    • iPad tutorial
    • FAQs
    • App troubleshooting
  • Meal planning 101
    • MEAL PLANS
      • Spring
      • Summer
      • Autumn / Fall
      • Winter
    • Planning know-how
    • How-to
    • Buy
  • Recipes
    • Breakfast
    • Snacks & lunchbox
    • Meals & dinners
    • Sides & salads
    • Desserts & special occasion
  • About us
You are here: Home / COOK / Vegetable pasties

Vegetable pasties

02/04/2018 By Gaby

Vegetable pasties

Vegetable pasties can be a great weekend meal, that are also perfect for lunch boxes of after-school snacks. It is easier than you might think to make your own shortcrust pastry, but you can always use store-bought pastry instead. Baking the vegetables gives them a nicer flavour. You don’t traditionally pre-cook the vegetables for Cornish pasties (with meat), but it does add to the flavour to do so. VEGETABLE PASTIES

Prep: 15 mins
Cook: 90 mins
Makes: 4 large pasties or 16 small pasties

Ingredients

  • 1 brown/yellow onion, finely diced
  • 2 carrots, peeled & diced
  • 400g/¾ pound of sweet potato/yams, peeled & diced
  • 500g / 4 potatoes, peeled & diced
  • 40ml / 2 tbsp of olive oil
  • salt
  • 300g of plain flour
  • 1 tsp of salt
  • 150g of unsalted butter, cold, diced
  • 80ml / 4 tbsp of water
  • 1 cup of frozen peas
  • extra flour for dusting the surface
  • 1 egg, lightly beaten, for glazing
  • tomato sauce/ketchup or tomato chutney to serve

Method

  1. Preheat the oven to 180ºC / 350ºF / Gas mark 5. Line 1–2 trays with baking/parchment paper. Keeping the vegetables separately (except the onion), place on the paper and share the diced onion between them. Drizzle vegetables with olive oil and add a pinch of salt to each tray.
  2. Place trays in oven and bake until cooked through (some vegetables might take longer than others) for about 40 minutes.
  3. In the meantime, make the shortcrust pastry in a bowl by combining the salt and the flour, then rubbing in the butter until you get the consistency of fine breadcrumbs.
  4. Add in the water and mix together to form the dough. From into a rectangle shape, then wrap in clingfilm and place in the refrigerator until ready to make the pasties.
  5. When the vegetables are cooked and cooled, add the peas, and press some of the vegetables together with the back of a fork.
  6. Remove the pastry from the refrigerator and then flour a surface. Cut the dough in half and return half to the refrigerator. Roll the dough out to 2mm/1/8″ thick. For small pasties, use a small bowl or cutter (12cm/4″) for size, turn it upside down and cut out 8 circles. For larger pasties, use a side place (approx 20cm/9″) and cut 2 rounds.
  7. Spoon enough mixture in the centre of each round, to fill each round (it will take less filling than you think), then brush one half of the edge with egg wash, and fold in half. Bring the edges together and pinch and seal. Stand the pastie up and place on a baking tray with baking/parchment paper. Brush with egg wash. Repeat for remaining pastry and mixture.
  8. Turn the oven up to 200ºC/400ºF/Gas mark 6. Place the pasties in the oven for 15–20 mins.
  9. Remove from oven and serve immediately with tomato sauce/ketchup or chutney.
  10. If freezing some for later, set aside to cool and then freeze.

TIP
Make Cornish pasties by adding 200g of beef mince/ground beef to the vegetables, which you would dice finely.
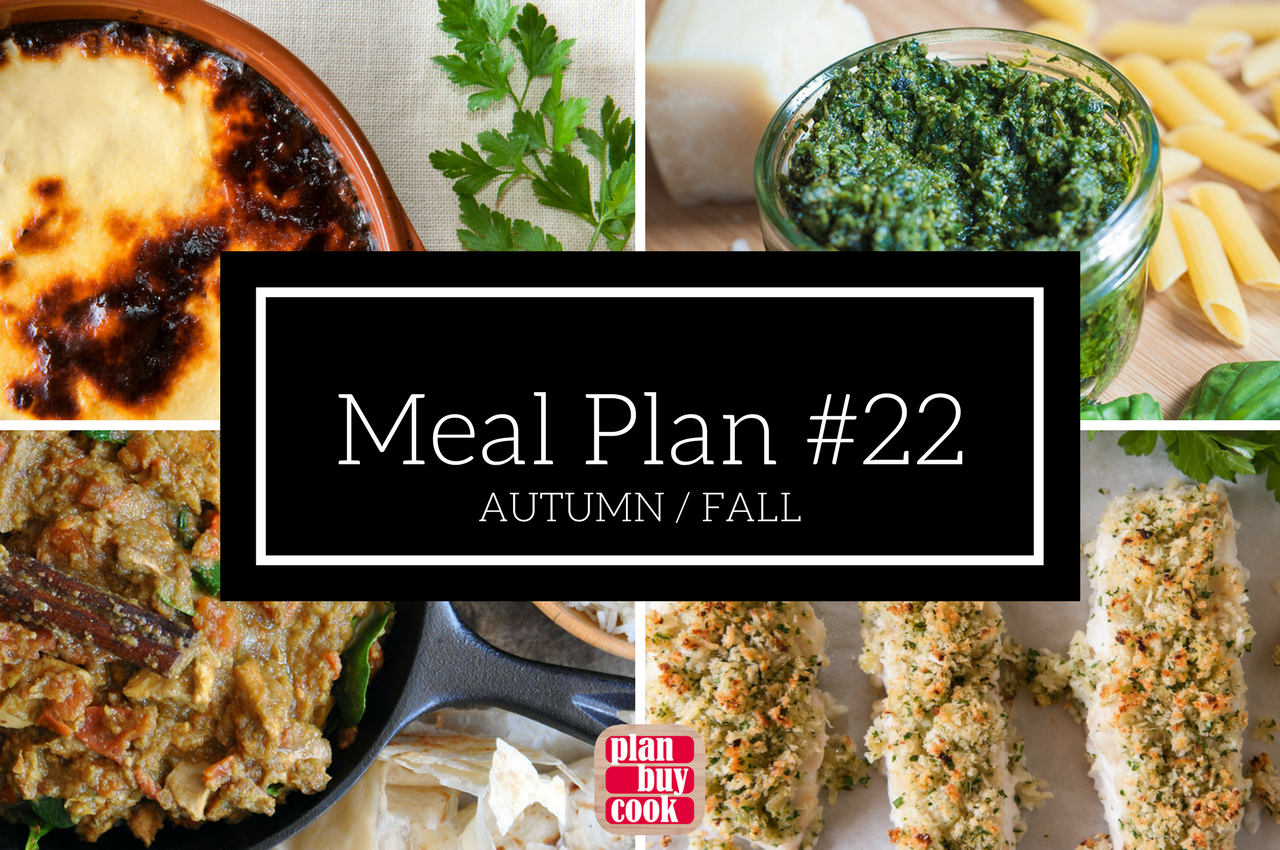
The PlanBuyCook meal planning app is available for iPhone and iPad here. It includes 130 great recipes that you can scale to match your household size, or easily double recipes for freezing.

Join our FREE Dinner Done Challenge to learn how to become a master meal planner, using our tips and hints, proven method and recipes. 

Filed Under: COOK, Meals & dinners, Snacks & lunchbox

Primary Sidebar

Search

Get social

  • Facebook
  • Instagram
  • Pinterest
  • Twitter
  • YouTube

PlanBuyCook APP

Plan Buy Cook App

As featured in:

About us

PlanBuyCook is meal planning made simple using our no-fuss iPhone and iPad app and the Dinner Done Challenge. It makes planning, shopping for and cooking your meals easy. Read More…

iPhone app tutorial

https://youtu.be/TGO57pkISK8

iPad app tutorial

https://youtu.be/sxoPxpOT5zA

Tip of the week

Double all freezable meals and freeze half for a fast meal a few weeks down the track.

Recent posts

Tuna and corn patties

[Read More...]

Roast carrot, feta and walnut salad

[Read More...]

Mexican corn salad

[Read More...]

Before Footer

Instagram

  • You could easily whip up these little chocolate hearts for the special person / people in your life. So yummy that you may have difficulty parting with them. Gluten free too. Recipe below.
.
.
.
.
Chocolate Fudge

Prep: 5 mins
Cook: 60 mins
Makes: 16 small hearts
Ingredients:
125ml of sour cream
30ml of frangelico or brandy
300g of dark chocolate
4 eggs
50g of caster sugar
cocoa for dusting

Method:
Preheat the oven to 120ºC.
Whisk the eggs and sugar together in a heat-prof bowl over a saucepan of simmering water until the sugar dissolves.
Add the chopped chocolate, sour cream and frangelico or brandy, and mix until chocolate has melted.
Pour mixture into a 20cm x 20cm square cake tin lined with baking paper.
Place in oven and cook for 45 minutes. It should be a little wobbly in the centre when ready as it will continue to cook in its own heat.
Remove from oven and leave to cool completely.
Once cooled to room temperature, place in the freezer to make it easier to cut.
Using a cookie cutter (heart shaped if it is your heart’s desire) cut out the fudge.
Dust with cocoa and place on a serving plate or in a gift box.
Serve to all loved ones on Valentine’s Day or any day.
  • This is an old school classic eastern European salad that tastes sensational. Not much to look at, you’ll be surprised by the fabulous reaction you’ll get to this Russian salad. Go on – try it! It won’t disappoint. Recipe below. .
.
.
.
.
.
RUSSIAN SALAD
Prep: 15 mins
Cook: 30 mins
Serves: 4

Ingredients:
400g / 2 large potatoes, peeled and cut into 3cm/1″ dice
4 carrots, peeled and cut into 3cm/1″ dice
4 eggs
1 cup of frozen peas, defrosted
100g of gherkins, sliced or diced
2 tbsp of natural/plain yoghurt
2 tbsp of mayonnaise
4 sprigs of flat leaf parsley, washed and picked
½ cup of frozen edamame beans (soybeans), peeled and defrosted
salt
white pepper

Method:
Place the potatoes and carrots in saucepans, bring to the boil and cook until tender. Drain and set aside to cool.
Bring another saucepan to the boil, and place the eggs gently in and cook for 8 minutes. Drain and refresh under old water and peel while still warm. Chop or slice the eggs.
Combine the yoghurt and mayonnaise and set aside.
Once the potatoes and carrots have cooled completely, combine them in a bowl with the eggs, peas, gherkins, parsley and edamame. Stir through the mayonnaise mixture, adjust seasoning and serve.

TIP:
This salad is a meal in itself. Just add some leafy greens to go with it.
  • Not all muffins need to be sweet. If you are looking for a great lunchbox filler that also ticks the vegetable box, how about trying these out? A perfect alternative to always offering sweet treats for after school snacks. Another great savoury muffin combination is potato, rosemary, caramelised onions and feta. Recipe below.
.
.
.
.
.
SAVOURY MUFFINS
Prep: 10 mins
Cook: 1 hour
Makes: 18 muffins
Ingredients
1 sweet potato, diced (or any leftover roast vegetables:, including zucchini, pumpkin, carrots etc.)
½ onion or 1 eschalot, finely diced
olive oil spray
2 cups of self-raising flour
2 pinches of salt (iodised)
2 eggs
1 cup of milk
30ml of olive oil
100g feta, crumbled
½ cup of baby spinach
Method
Preheat the oven to 180˚C fan forced.
Line an oven tray with baking paper. Mix together the vegetables and the onion or eschalot and pile on the baking tray. Spray vegetables with olive oil.
Bake vegetables for 35–40 minutes.
Line muffin trays with paper cases (patty pans).
In the meantime, place the flour and salt in a large bowl. Make a well in the centre and then add the eggs, milk and oil and fold through lightly.
Add the roasted vegetables, feta and baby spinach to the flour mix and combine gently.
Spoon mixture into the paper cases.
Cook for 15–20 minutes until springy to touch.
Leave to cool before serving or freezing.
  • This week, since it's back to school for most of us, we'll focus on lunchbox snacks - starting with apple slice. It freezes well if the family doesn’t polish it off on the same day. You can use any apples you happen to have. Recipe below.
.
.
.
.
APPLE SLICE
Prep: 10 mins
Cook: 45 mins
Makes: about 25–30 squares

Ingredients:
3 eggs
1 cup of caster sugar
90g of unsalted butter, melted
4 apples (use whichever variety you have in the fruit bowl)
1 tsp of vanilla essence
1 tbsp of caster sugar (additional)
1½ cups of self raising flour
icing sugar mixture for dusting

Method:
Preheat the oven to 180ºC (160ºC fan forced).
Grease or line an 18 x 28 cm baking tin or equivalent.
Mix the eggs, sugar and melted butter together in a bowl.
Grate the apples (leaving the skin on) and add vanilla and extra caster sugar to the apples and set aside.
Add the flour into the egg mix and stir with a fork to make a runny batter.
Pour two thirds of the batter into the baking tin to cover the base.
Spread apple mix evenly over the batter in the baking tin, then top with remaining batter. Don’t worry if it doesn’t entirely cover the apple mixture, it spreads when cooking.
Place tray in the oven and bake for 35–40 minutes.
Remove from the oven, allow to cool then sprinkle with icing sugar mixture.
Cut into smaller squares and freeze any leftovers for lunchboxes.

TIP:
If using Granny Smith apples or particularly juicy apples, you may want to squeeze the grated apple mix before spreading over the batter. There will appear to be too much grated apple, but use it all as it cooks down. Remember you don’t need much batter of the top as it does spread.
  • The perfect treat for a scorching summer's day. Recipe and 📸 courtesy of Good Food.  #icypoles #passionfuit #coconut #goodfoodau #summer.
.
.
.
2 x 170g cans passionfruit pulp in syrup
350ml coconut water
.
.
1. Combine the entire contents of the cans of passionfruit pulp with the coconut water and mix well. Strain through a sieve to remove the seeds (but push through any pulp).
2. Divide the mixture between the compartments of icy pole moulds, but do not fill completely to the top. Add a few passionfruit seeds to each compartment, then add wooden sticks and freeze for at least 6 hours.

Footer

  • Facebook
  • Instagram
  • Pinterest
  • Twitter
  • YouTube
  • General terms and conditions
  • Privacy policy
  • Advertise with us
  • Contact us
  • Media enquiries

Copyright © 2019 · Appetising Ideas